Introduction
Disc repair is based on a principle of buffing out scratches
and gouges to a point where the reading laser can, once again, track
the data correctly.
For this article, I will concentrate on inexpensive, manual treatments.
Many of these treatments come with similar components: applicator pads,
buffing compound, and an after-repair protective fluid.
A plethora of expensive,
automated, machine-based solutions are also available from a handful of manufacturers. Unless you are going into
the disc-repair business, these devices are probably going to be too
expensive for you. If you have a damaged disc with critical data, and
the manual solutions (below) don't work -- or you would rather leave
the repair to a professional -- consider contacting a service listed
in this directory.
A relatively inexpensive ($40.00) motorized disc-repair system
is available from Digital Innovations, but I do not have experience with this product.
Treatments Used
CD
Doctor -- a fine-grit buffing fluid is the basis for this repair treatment.
CD/DVD
Playright -- one of the best-rated manual repair kits. This repair system consists of
several small sheets of fine-grade sandpaper (aka emery cloth), a fine-grit
buffing creme/polish, and a petroleum-based finishing polish.
Damaged Discs -- Better-Handling Habits is the Best Policy
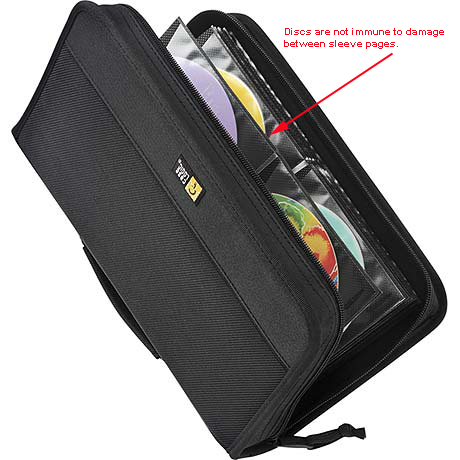
Important note: please keep your discs in their jewel box
or a protective sleeve when you are done using them. If you listen to
CDs in a car, consider a multi-disc changer. Single players are okay
for single, compilation discs. But if you like to change discs frequently,
the one-at-a-time disc-changing routine is way too cumbersome (and as dangerously distracting as a cell phone). In this scenario, many people just leave discs
lying around in a car. Given the car's dynamics (starts/stops), these discs really take a beating. In fact, most of my "damaged-disc collection" was created in my car!
I'm only going to test and repair pressed audio CDs in this
report. The main reason for this is that I do not have a single knowingly damaged DVD or CD-ROM (data disc) in my collection.
Symptoms
Clicking, skipping or "hung-up" audio
tracks.
Repair Procedure
CD Playright is the best of the two repair kits I have experience
with. I pretty much stick to its application directions. I do spend extra
time with the "sandpapering" part of the prescribed regimen, since this is by far the most important part.
If a scratch does not diminish acceptably during an initial buffing,
I will repeat the process.
You may be wondering about application
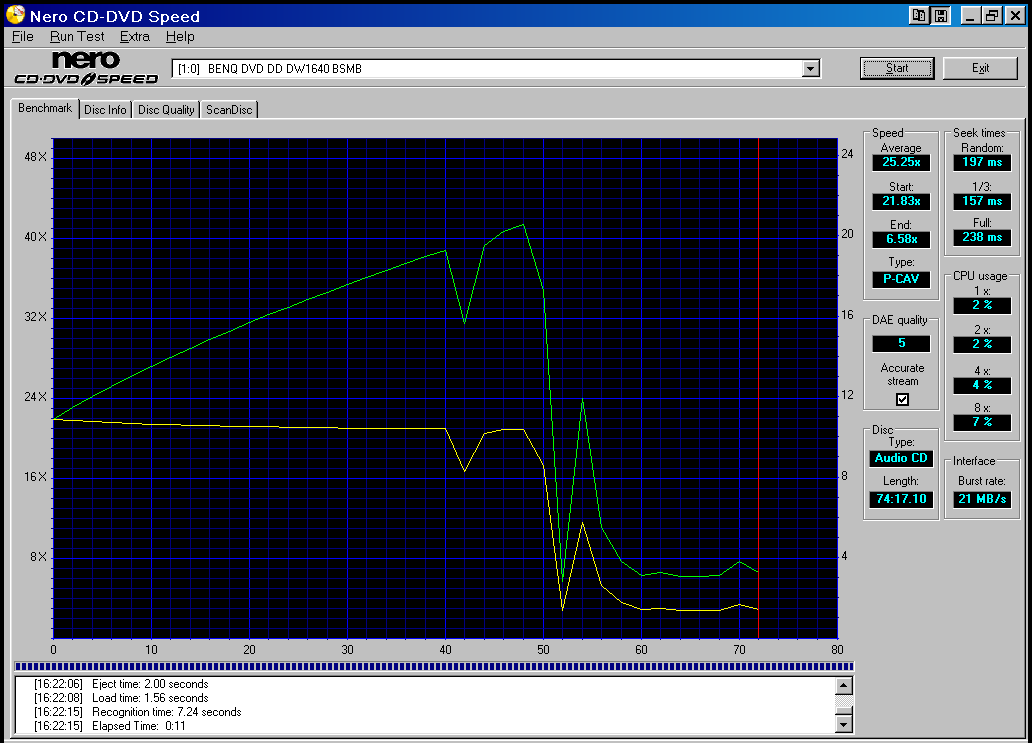
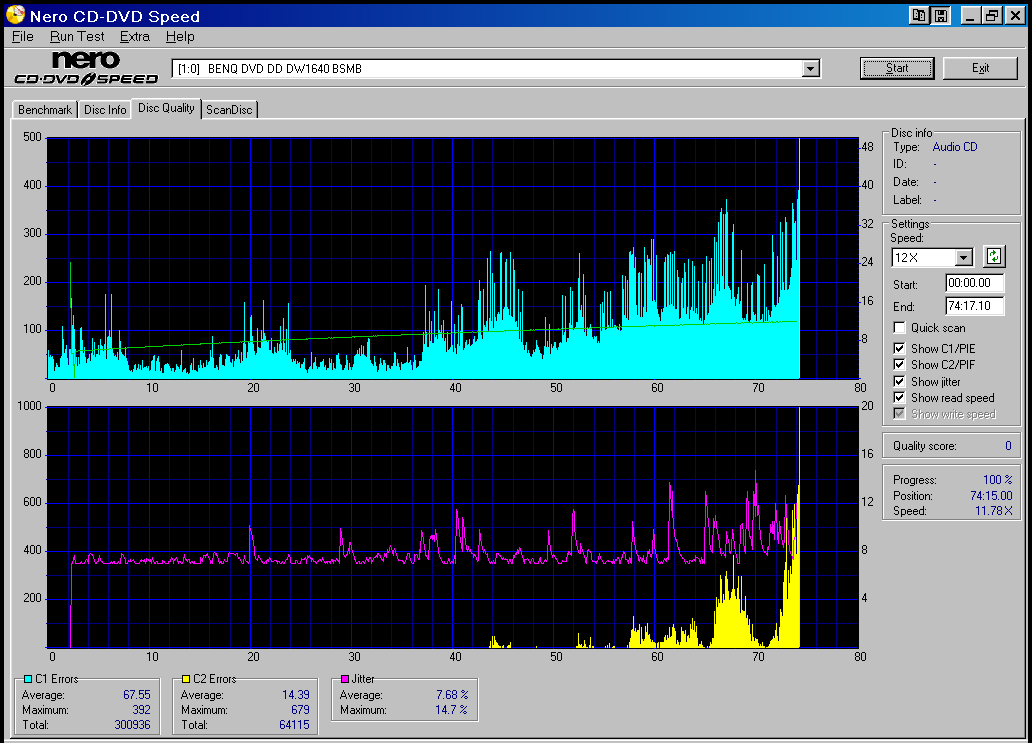
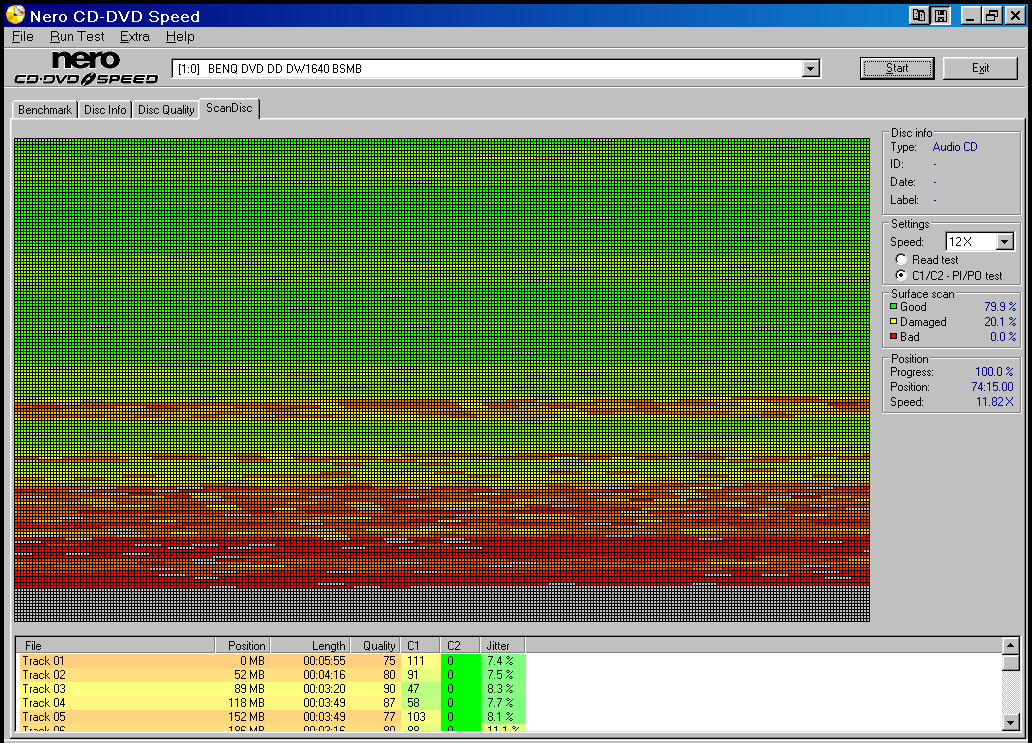
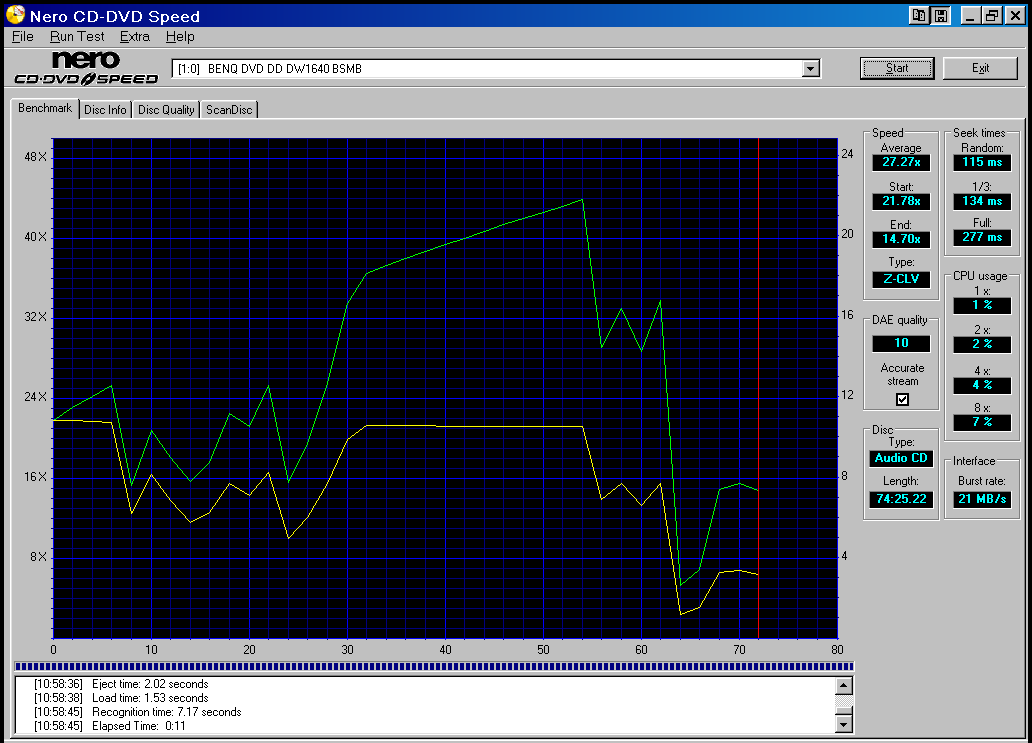
time. For the tested discs below (which were quite damaged) I spent roughly one hour
per disc. Was this much time worth spending on these particular discs? For the sake of testing, yes! Read my comments in the Conclusions section. |
